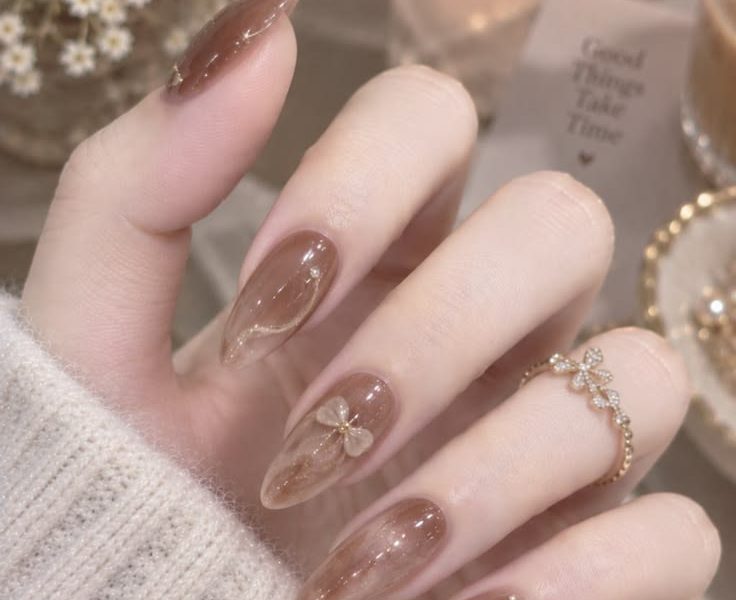
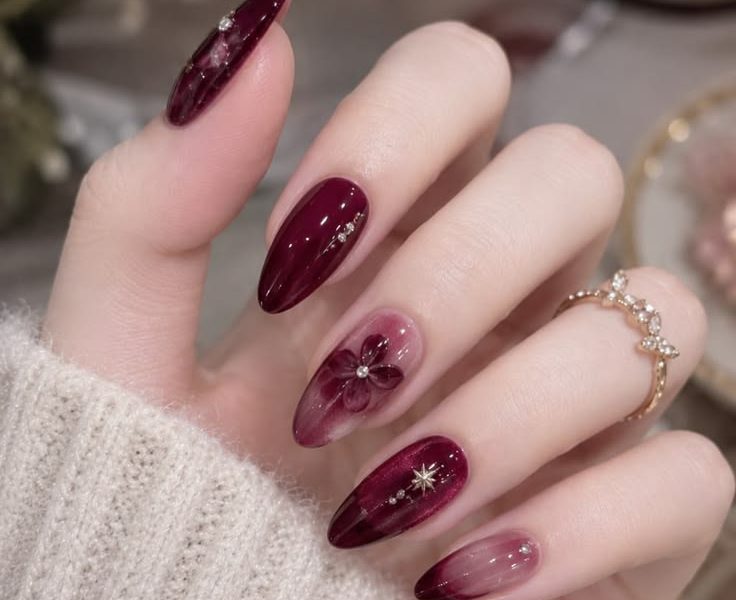
This chic manicure blends timeless, elegant almond-shaped French tips with playful, minimalist ghost nail art and subtle starry accents. The result is a manicure that is sophisticated enough for daily wear, yet delightfully festive for the Halloween season.
In this comprehensive guide, we will break down everything you need to know about this aesthetic manicure: how to recreate it step-by-step at home, key design elements, essential tools, maintenance tips, and variations for different nail shapes and lengths.
What Makes Ghost French Tip Nails the Ultimate Halloween Trend?
In recent years, the trend in nail art has shifted toward “soft gothic” and “minimalist holiday” aesthetics. Ghost French tips embody this balance perfectly:
- Versatility: The sheer nude base and crisp black French tips give the design a polished look suitable for work, school, or formal events.
- Playful Details: Little white ghost figures, delicate black hearts, and sparkling starbursts add Halloween magic without being overwhelming.
- Flattering Shape: Almond nails elongate the fingers, creating a graceful canvas for detailed hand-painted accents.
Detailed Visual Breakdown of the Design

To execute or recreate this exact look, let’s examine the key artistic components featured in this design:
+-----------------------------------------------------------------------+
|                           DESIGN BREAKDOWN                            |
+-------------------+---------------------------------------------------+
| Component         | Visual Characteristics                            |
+-------------------+---------------------------------------------------+
| Nail Shape        | Long, tapered almond shape with smooth curves     |
| Base Coat         | Sheer milky nude with a glossy gel finish         |
| Smile Line        | High-contrast, deep black French tips             |
| Feature Art       | 3D effect white ghosts with cute dot eyes         |
| Accent Elements   | Black four-point starbursts, tiny hearts, dots    |
| Ring / Accessories| Gold band with a tiny ghost motif and zirconia    |
+-------------------+---------------------------------------------------+
1. The Sheer Nude Canvas
The foundation of this manicure is a clear-to-semi-sheer pinkish-nude gel polish. This neutral base allows your natural nail bed to look clean while ensuring the black French tips and white ghost accents stand out vividly.
2. Deep Black French Tips
Rather than a traditional white tip, this design uses glossy jet-black polish painted in a deep, curved arch along the edge of each nail. The deep curve complements the almond shape, visually lengthening the finger.
3. Hand-Painted Ghost Accent Figures
The highlight of this design is the floating ghost figures. Painted in opaque white with slight dimensional shading, these ghosts feature classic oval eyes and expressive faces.
4. Celestial & Romantic Details
To elevate the look beyond basic Halloween art, thin black line work adds:
- Four-point starbursts around the ghosts for a magical, twinkling effect.
- Delicate line-art hearts and tiny polka dots on feature nails (like the middle finger).
Step-by-Step DIY Tutorial: How to Get the Look at Home
You don’t need to visit a high-end salon to achieve this stunning Halloween manicure. Follow this step-by-step guide to paint your own ghost French tips using gel polish or high-quality regular polish.
Step 1: Prep and Shape Your Nails
- Remove Old Polish: Clean your nails using an acetone-free polish remover.
- File and Shape: File your nails into a balanced almond shape. Gently taper the sides toward a soft point at the tip.
- Cuticle Care: Push back cuticles gently using a wooden cuticle pusher. Lightly buff the surface of the nail bed to remove shine; this ensures long-lasting polish adhesion.
- Dehydrate & Prime: Wipe the nails with rubbing alcohol or a nail dehydrator to eliminate residual oils.
Step 2: Apply the Base Coat
- Apply a thin layer of base coat and cure in an LED/UV lamp for 60 seconds (or allow to air dry completely if using regular polish).
- Apply 1 to 2 thin coats of a sheer milky nude polish. Cure each layer for 60 seconds.
Step 3: Paint the Black French Tips
- Using a fine detail liner brush dipped in black gel polish, draw the outline of your French tip smile line.
- Curve the sides slightly upward along the lateral nail folds to accentuate the almond length.
- Fill in the tips with black polish and cure for 60 seconds.
Step 4: Paint the Floating Ghosts
- Using an opaque white gel polish and a dotting tool or small round brush, drop a coin-sized circle of white polish in the center of the nail bed.
- Drag the white polish downward in a fluid, wavy motion to create the ghost’s trailing skirt.
- Cure under the lamp for 30 seconds.
- Dip a fine dotting tool into black polish to create two vertical dots for the eyes and a small circle for the mouth.
Step 5: Add Starbursts and Heart Details
- Using your ultra-fine detail brush and black polish, draw small cross shapes ($+$) on the nude areas. Extend the vertical and horizontal center lines slightly to create elegant 4-point starbursts.
- On select nails (such as the middle finger), draw a delicate thin-lined heart connected by tiny dots.
- Add tiny black dots around the design to fill empty space. Cure for 60 seconds.
Step 6: Seal and Protect
- Apply a generous layer of glossy, non-wipe top coat over the entire nail to level out the art and add a high-shine finish.
- Cure under the UV/LED lamp for 60 to 90 seconds.
- Finish by applying hydrating cuticle oil around the skin.
Essential Products and Tools Checklist
To achieve precision and crisp lines, having the correct tools makes all the difference:
- Nail Prep: 180-grit nail file, buffer block, cuticle pusher, rubbing alcohol wipes.
- Brushes: $0mm$ or $5mm$ fine nail art liner brushes, small dotting tools.
- Polishes Needed:
- Base coat & Glossy gel top coat
- Sheer nude/pink gel base
- Opaque Jet Black polish
- Opaque Pure White polish
- Equipment: 48W+ LED/UV Nail Lamp (if using gel polish).
Tips for Styling and Photography
If you are a nail technician or content creator showing off your Halloween set on social media, staging your photos can elevate your presentation:
- Cozy Autumn Props: Complement the nails with Halloween accessories like scented white candles, miniature ceramic ghosts, pumpkin props, and black lace fabric.
- Cohesive Jewelry: Pair your manicures with seasonal rings—such as gold or silver ghost rings and subtle gemstone bands—to pull the cozy autumn look together.
- Textured Backgrounds: Knit sweaters, cozy cardigans, and dark velvet backdrops make the soft nude and black colors pop.
How to Maintain and Care for Your Halloween Nails
To keep your Ghost French Tips chip-free and glossy throughout October, follow these key maintenance practices:
- Wear Gloves for Chores: Protect your gel polish from harsh household chemicals and water exposure when washing dishes or cleaning.
- Oil Cuticles Daily: Apply cuticle oil twice a day to prevent lifting around the edges and keep skin hydrated in cooler fall weather.
- Avoid Using Nails as Tools: Refrain from using your nail tips to open cans or peel stickers, as this can break the top coat seal.
Frequently Asked Questions (FAQ)
Can I do ghost French tips on short or natural nails?
Yes! While almond-shaped extensions offer a larger canvas, ghost French tips look equally charming on short square, oval, or squoval natural nails. Simply scale down the ghost details and paint a thinner black tip.
How long do gel ghost French tips last?
With proper nail preparation, gel ghost nails typically last 2 to 3 weeks without chipping or losing their shine.
What is the best base coat color for Halloween French tips?
A semi-sheer nude polish with slight pink or beige undertones works best. It provides coverage for natural nail imperfections while remaining translucent enough for an elegant, clean look.
Conclusion
The Ghost French Tip manicure proves that Halloween nails don’t have to be messy or overly dramatic to make a statement. By combining classic French manicures with spooky motifs, high-contrast black and white accents, and delicate starbursts, you get a chic autumn look that is both stylish and fun.
Give this tutorial a try at home or save this post to show your nail technician during your next salon visit!