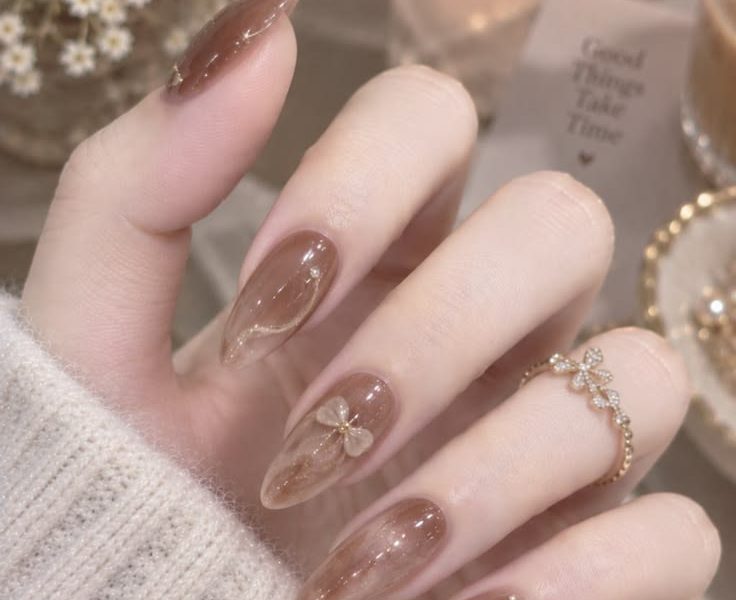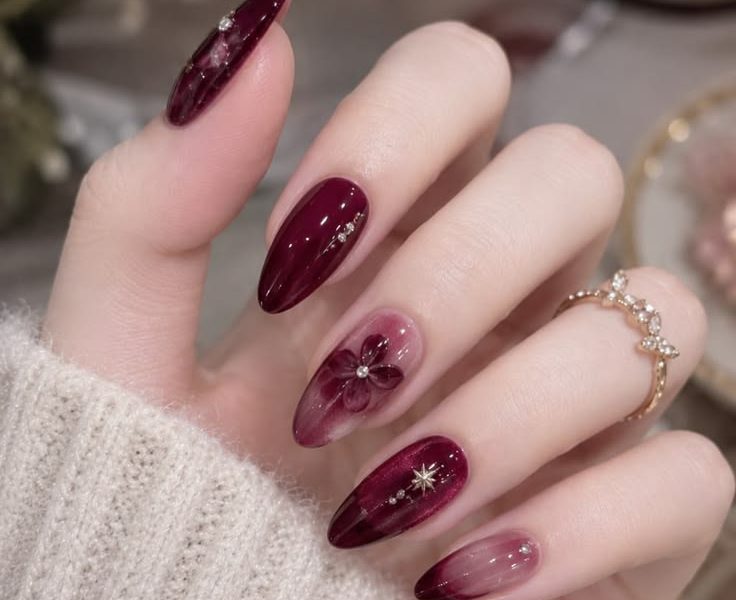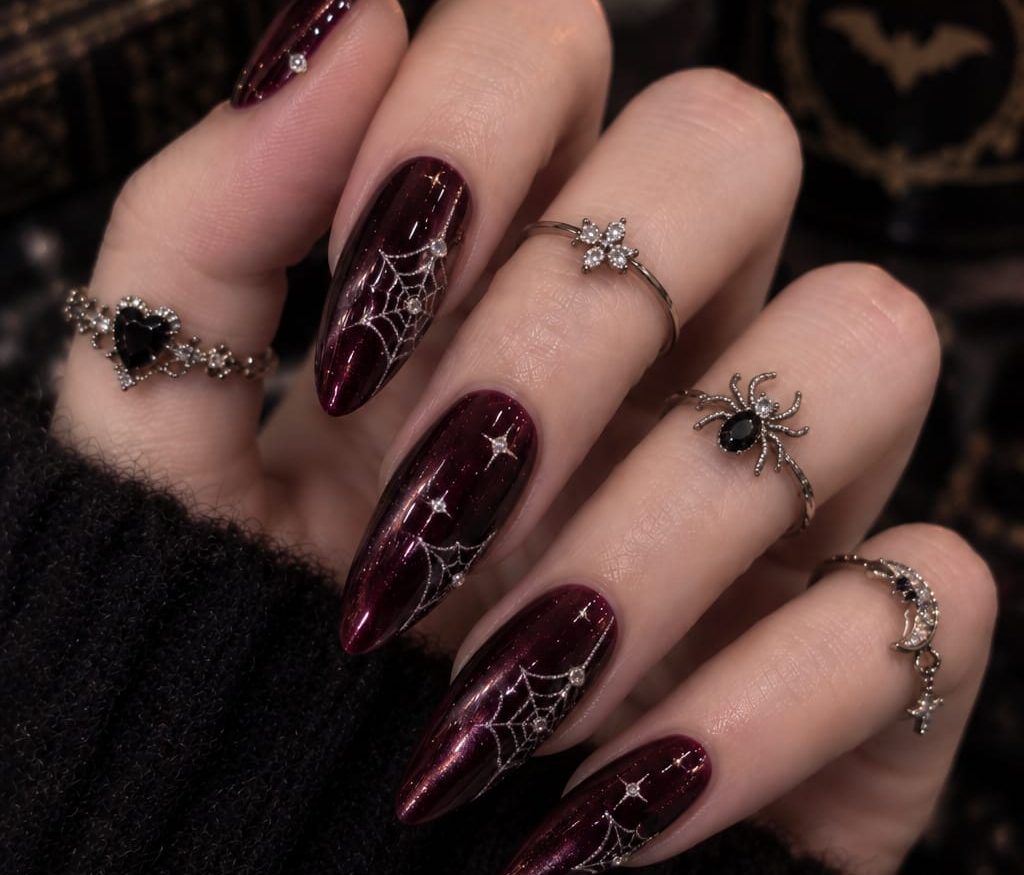
Whether you are preparing for Halloween, attending a dark academia event, or embracing a gothic aesthetic in your daily style, this detailed guide covers everything you need to know to replicate, customize, and maintain high-end gothic nail designs.
Key Elements of Modern Gothic Nail Aesthetics
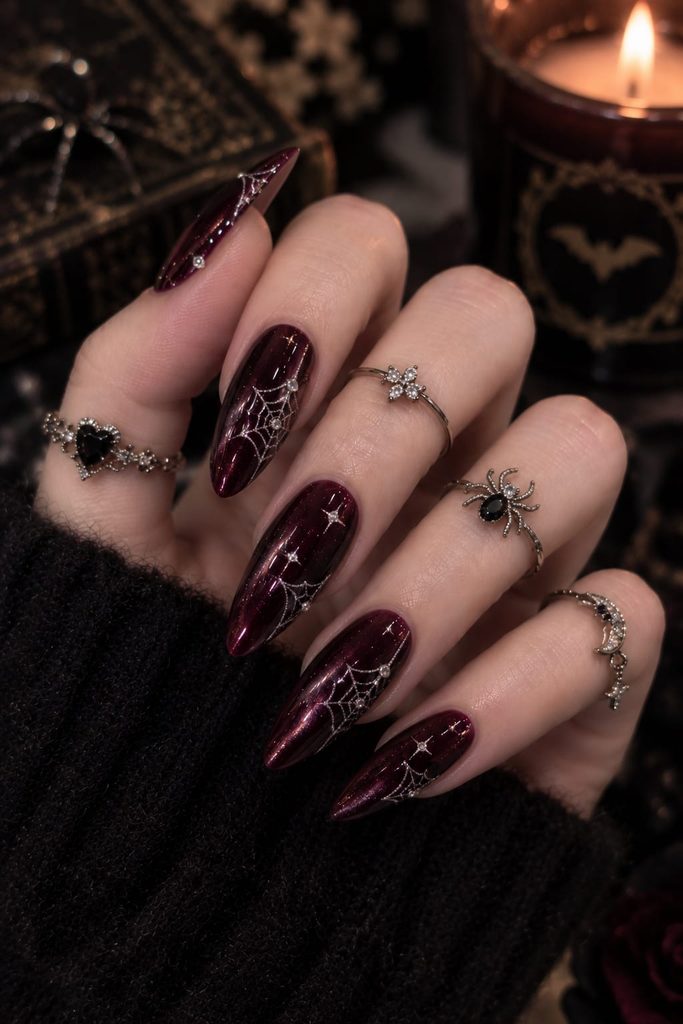
Modern gothic nail art balances moody undertones with glamorous textures and refined artistry. The image highlights several core design elements that distinguish high-end dark romantic nails from traditional designs:
- Deep Metallic and Cat-Eye Finishes: The base color uses a deep burgundy or wine-red magnetic polish. The velvety dimensional shift catches light from different angles, creating depth that dynamic black or solid colors cannot achieve alone.
- Fine-Line Line Work: Delicate silver spiderwebs painted near the cuticle and nail tips create an intricate, webbed effect without overpowering the overall design.
- Celestial Accents: Tiny starbursts and silver dots complement the spiderweb patterns, introducing a mystical, celestial feel.
- Rhinestone Embellishments: Micro-rhinestones placed at the centers of starbursts and web joints add sparkle under ambient lighting.
- Almond/Stiletto Nail Shapes: Tapered shapes emphasize length and drama, enhancing the gothic mood.
Detailed Step-by-Step Tutorial: Recreations from Home
Recreating intricate gothic nail designs requires proper technique, patience, and the right tools. Follow this step-by-step guide to achieve professional-quality results.
Required Tools and Materials
- Prep Essentials: Dehydrator, gel primer, fine-grit buffer, cuticle pusher, lint-free wipes.
- Base & Top Coats: Gel base coat, high-shine no-wipe gel top coat.
- Polishes: Deep burgundy or dark plum velvet/cat-eye gel polish, black gel polish (for base depth), silver metallic gel liner art paint.
- Nail Art Tools: Strong nail magnet (bar or dual-head), ultra-fine detail brush (7mm to 9mm), dotting tool, micro-rhinestones, rhinestone picker stick, nail glue or builder gel for gem placement.
- Curing Lamp: 48W LED/UV curing lamp.
Step 1: Preparation and Nail Shaping
Long-lasting gel nail art begins with correct surface preparation. Skipping prep steps leads to premature lifting or chipping.
- Shape the Nails: File nails into an almond or stiletto shape, ensuring smooth, symmetrical sidewalls.
- Cuticle Prep: Gently push back cuticles and gently buff away dead skin from the nail plate using a fine-grit buffer.
- Dehydrate and Prime: Cleanse each nail with isopropyl alcohol or acetone using a lint-free wipe. Apply a dehydrator followed by a acid-free gel primer to maximize adhesion.
Step 2: Base Application and Magnetic Cat-Eye Layering
- Base Coat: Apply a thin layer of gel base coat and cure for 60 seconds under the LED lamp.
- Optional Color Base: Apply one thin coat of black gel polish and cure for 60 seconds. A black base enhances the depth and richness of dark burgundy cat-eye polish.
- Apply Cat-Eye Polish: Apply an even layer of deep burgundy magnetic cat-eye polish. Do not cure yet.
- Create the Magnetic Effect: Hold the magnet 2–3 mm away from the nail edge at an angle for 5–10 seconds to pull the magnetic particles into a velvety dimensional line or aura pattern. Cure immediately for 60 seconds to set the design. Repeat for a second coat if higher opacity is desired.
Step 3: Painting Delicate Fine Lines and Spiderwebs
- Precision Brush Setup: Load a fine 7mm detail brush with highly pigmented silver metallic gel paint. Wipe off excess paint on a palette to keep the lines crisp.
- Web Center Placement: Pick a focal point—either near the cuticle base or close to the nail tip. Paint 3 to 4 straight radiating lines extending outward.
- Connect the Curved Webs: Connect the radiating lines with subtle, inward-curving arc strokes to form spiderweb sections.
- Celestial Touches: Paint tiny four-point starbursts using swift, light strokes, and add small dots using a micro-dotting tool around the web lines. Flash-cure each completed finger for 10–15 seconds to prevent line bleed.
Step 4: Applying Rhinestones and Sealing
- Place Rhinestones: Apply small dabs of builder gel or gem glue at key focal points (such as the center of spiderwebs or stars). Place micro-rhinestones with a wax picker pen and press lightly.
- Flash Cure: Cure for 30 seconds to lock stones in place.
- Top Coat Application: Float a coat of high-shine, no-wipe gel top coat over the entire nail, carefully capping the free edge and sealing around the edges of the rhinestones.
- Final Cure: Perform a full 60 to 90-second cure under the LED lamp. Finish by applying cuticle oil to nourish the skin.
10 Gothic Nail Design Variations to Try
Gothic nail aesthetics span multiple sub-styles. Here are 10 top variations for inspiration:
| Design Style | Key Features | Color Palette | Ideal Nail Length |
| Burgundy Velvet Webbing (As Shown) | Magnetic cat-eye shift, silver spiderwebs, micro-rhinestones | Wine Red, Deep Plum, Silver | Medium to Long (Almond/Stiletto) |
| Victorian Lace & Corset | Matte black lace stamping, satin ribbon details, pearl studs | Matte Black, Cream, Sheer Nude | Medium (Coffin/Square) |
| Celestial Midnight Witch | Crescent moons, constellation maps, chrome stars, galaxy gel | Midnight Blue, Obsidian, Gold Chrome | Long (Stiletto) |
| Gothic Blood Ombré | Glossy black-to-crimson gradient, dripping blood accents | Jet Black, Blood Red, Deep Burgundy | Any Length |
| Dark Academia Plaid & Books | Matte tartan lines, wax seal accents, antique gold foil | Forest Green, Burgundy, Warm Amber | Short to Medium (Oval) |
| Subtle Goth French Tips | Sheer nude base, deep burgundy/black French v-cut tips | Nude, Black, Dark Cherry | Short to Long (Any) |
| Vintage Frame Cameo | 3D frame charms, miniature silhouette decals, matte base | Vintage Rose, Charcoal, Antique Silver | Long (Coffin) |
| Matte & Glossy Texture Contrast | Matte background with high-gloss spiderweb/drip overlays | Solid Jet Black | Short to Medium |
| Cyber-Goth Chrome Spikes | Metallic chrome linework, 3D gel drips, metal stud accents | Silver, Chrome, Gunmetal Gray | Long (Almond/Edge) |
| Haunted Manor Damask | Baroque floral damask patterns, velvet powder top coat | Royal Purple, Onyx Black | Medium to Long |
Jewelry Styling & Accessory Pairings
Gothic nail art delivers maximum visual impact when integrated into a complete aesthetic. Styling choices elevate the overall look:
- Muted Metals and Antique Finishes: Pair silver or oxidized gunmetal rings with dark burgundy and silver nail accents. Antique finishes match the dark romantic mood without distracting from the nail work.
- Gothic Gemstone Rings: Incorporate dark-toned gemstones such as black onyx, deep garnet, dark sapphires, or marcasite. Rings with spider, floral, crescent moon, or vintage lace settings frame themed nail art effectively.
- Mid-Finger and Stacking Rings: Layering dainty band rings on mid-phalanges highlights finger length and brings focus to intricate cuticle-area linework.
- Textured Fabrics: Chunky knit sweaters, lace cuffs, velvet sleeves, or sheer black mesh provide a rich contrast against high-shine nail finishes.
Nail Care and Maintenance for Long-Wear Art
Intricate gel art with 3D elements or rhinestones requires specific care to stay flawless for weeks.
Daily Maintenance Tips
- Use Cuticle Oil Daily: Hydrate cuticles with jojoba or sweet almond oil twice daily to keep the skin around the nail bed smooth and prevent lifting at the side edges.
- Protect Your Hands: Wear protective gloves when doing household chores, washing dishes, or working with harsh chemicals. Prolonged water exposure degrades gel adhesion over time.
- Avoid Using Nails as Tools: Do not use nail tips to open cans, scrape stickers, or unpeel items. Use the pads of your fingers to prevent chips or stone loss.
Safe Removal Instructions
Improper gel removal causes thin, damaged nails. Follow these steps to remove gel nail art safely:
- Break the Seal: Gently file down the shiny top coat layer with a 100/180 grit nail file. Be careful around elevated rhinestones.
- Soak in Acetone: Saturate cotton balls in 100% pure acetone, place them on each nail, and wrap tightly with small pieces of aluminum foil.
- Wait 15 Minutes: Allow the acetone to break down the gel layers for 15–20 minutes without lifting the foil.
- Gently Scrape: Remove the wraps and use a wooden cuticle stick to push away softened gel. If polish remains firm, rewrap for another 5 minutes rather than forcing it off.
- Nourish: Buffer the surface gently, wash hands, and reapply hydrating oil and hand cream.